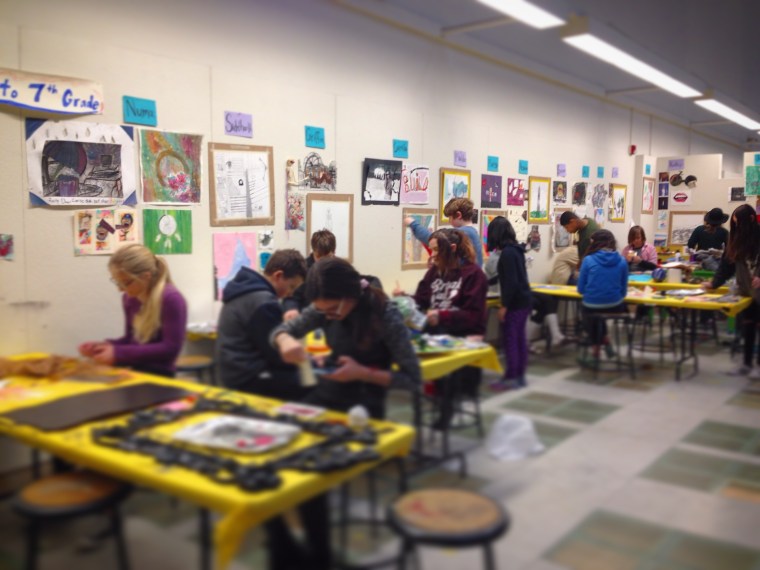
 Eighteen weeks of intense artmaking just wrapped up at the Carnegie Museum of Art. Thirty-two seventh grade students worked incredibly hard to face fears, dive headfirst into ambiguity and learn a few new things. Students created some incredibly beautiful artworks, taking the lead in executing designs that interested and excited them. Our program-long theme was of altering media, deconstructing, and paying attention to everyday artworks and media. I couldn’t be happier with what my students accomplished and can’t wait to share with everyone during our Opening Reception on Sunday, April 8, 3pm – 5pm. The exhibition will be displayed in the Hall of Sculpture April 7 – April 22. I will post in the coming weeks about specific projects and outcomes and also share the curating and installation process. My assistants and I have documented the year on Instagram. You can follow us @ art_connect_7.
Author: jrschieb
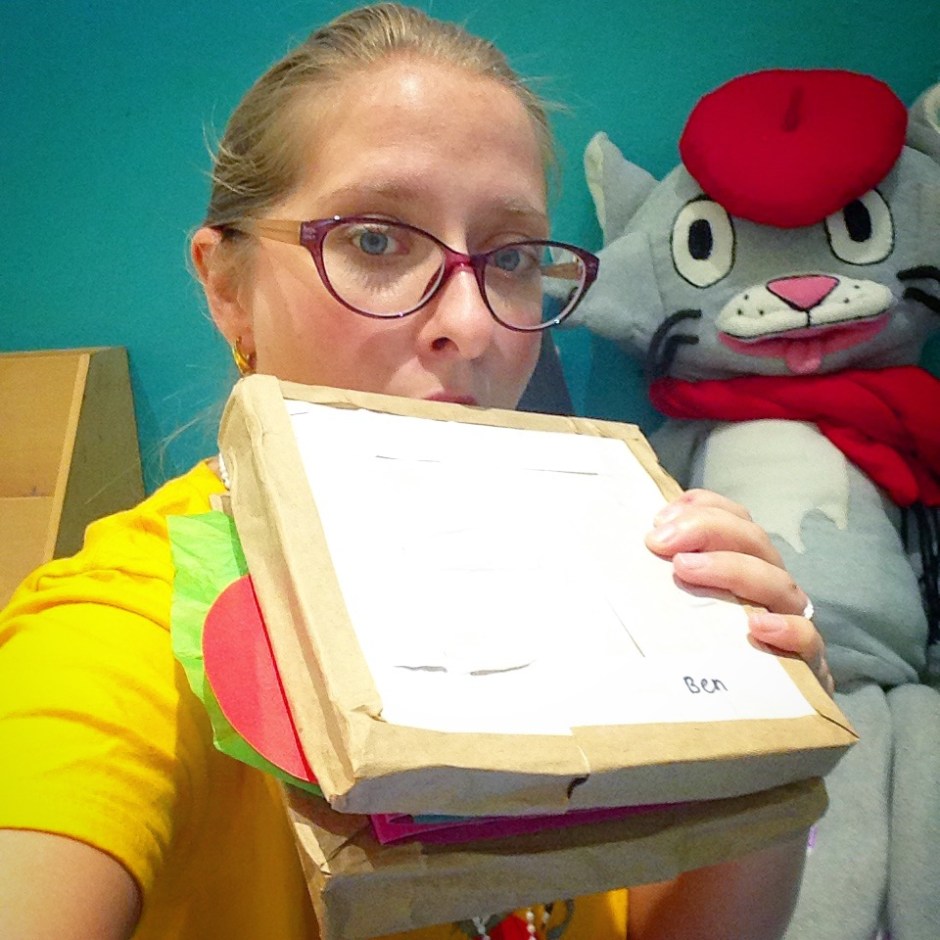
Art Cat’s Kitchen at CMOA
The second art camp I taught at Carnegie Museum of Art this summer was Art Cat’s Kitchen.


The content of this program was heavily influenced by children’s books. We read Cloudy with a Chance of Meatballs, the Very Hungry Caterpillar, and Max’s Sandwich. Students created a drawing, print, and collage based on food items in the style of an artist in the museum or illustration found in our inspiration books. Each of these artworks were included in a paper mache sandwich that students also created.


The kids loved the completed sandwich books! They were incredibly sensory and it was really fun to watch parents and siblings take a bite of the food inspired artworks at our end of the week ‘art picnic.’
Mini Monets at CMOA
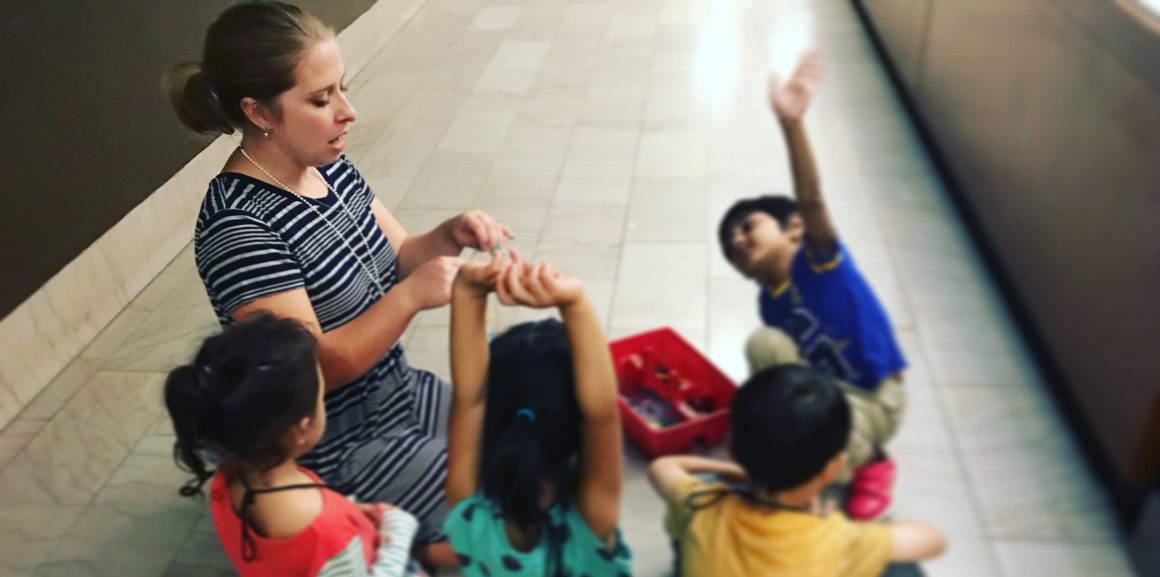
This past summer I was lucky enough to teach two summer camps for 4 – 5 year olds at the Carnegie Museum of Art; Mini Monets and Art Cat’s Kitchen.


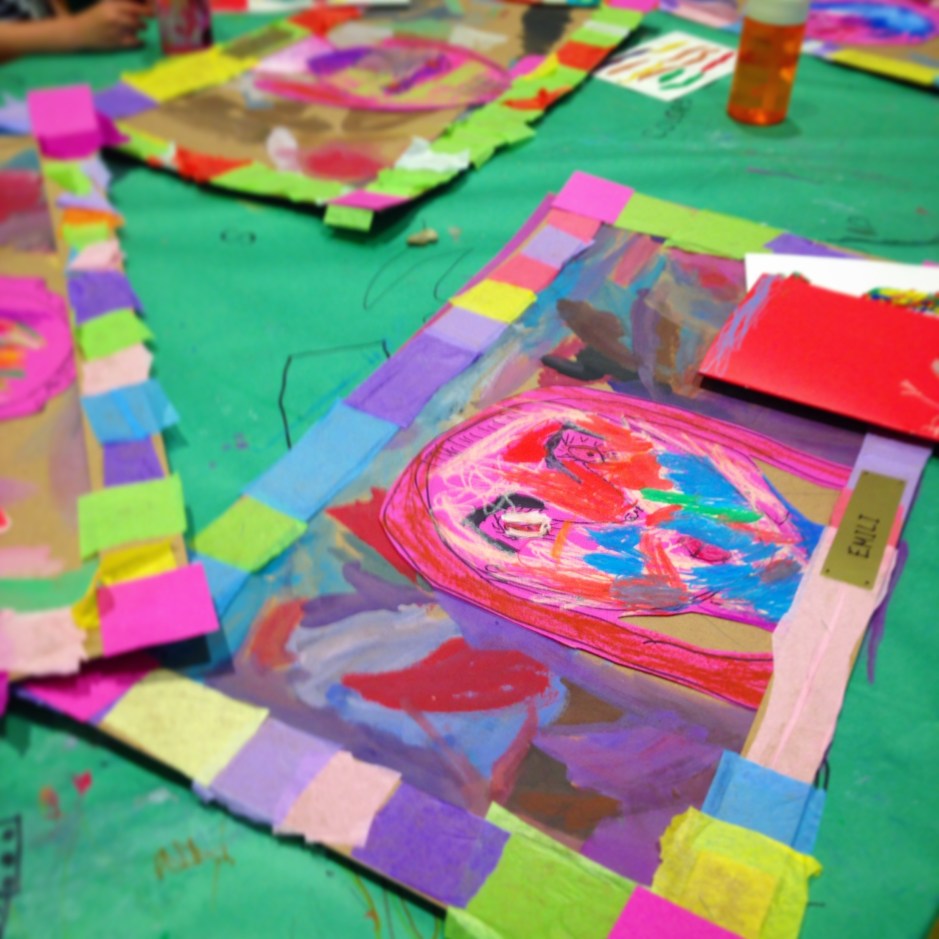
In Mini Monets, students learned basic facial anatomy and created self-portraits. They were particularly interested in the deep spaces of the skull and loved to feel along their face as we discussed each feature, comparing their own face to the model skull that we had in the classroom. After completing the underdrawing, students used mark making methods discussed in the galleries to add oil pastel color to the face. The portraits were cut out and placed on landscape paintings that each child created. The drawing for each landscape was created ‘en plein air’ (in open air) near the entrance to the library and the painting was done in the studio using tempra cakes.


I couldn’t resist using shaving cream painting with this group. The puffy paint really lended itself to the impasto surface made famous by the Impressionists and Post-Impressionists. The students were able to blend together the milky pastels to create beautiful abstract landscapes inspired by Monet’s Waterlilies.


Family Readers @ PCA
I just wrapped up two weeks of Family Readers classes at Pittsburgh Center for the Arts. The class was 1 1/2 hours for ages 2 and up with a caregiver. My oldest son, Charlie, is three years old so I was able to bring him along! The first class was based on The Dot by Peter H. Reynolds and the second was based on Mix it Up by Herve Tullet.
For The Dot, I set up exploration stations for students. After reading the story, we explored mark making with non-traditional objects like bubble wrap and toilet paper tubes. Next, we mixed our own colors with tempera cakes. We explored positive and negative space with foam block printing and then crayon resists with watercolor paints. We even ‘painted’ with oil clay by pressing small dots of polymer clay into foam sheets. At the end, we bound all of our treasures together to create our very own Dot Books.


For the Mix it Up class, students were transformed into art-scientists. First, we explored color mixing with saran wrap, canvas board and liquid acrylic paint. Students combined primary colors and white with their fingers, squishing the paints together to create a colorful landscape. Next, we got seriously messy with foam paint. Using one part shaving cream to one part white glue and a few drops of washable liquid watercolor, students got elbow deep into their paintings, and spent more than half of the class whipping up their masterpieces! My son in particular really got into it. He is seriously excited to do this activity again at home and thinks that our house exterior would really benefit from puffy paint. Finally, we used liquid watercolor and pipettes to make miniature drop paintings. Using dry watercolor paper, students moved the paint around by blowing through straws. Next, they compared the strong, pigmented lines created with the dry paper to the soft, large shapes that were created when water was painted onto their paper first.


